Django is a high-level Python web framework that encourages rapid development and clean, pragmatic design. It is designed to help developers take applications from concept to completion as quickly as possible.
Django follows the "batteries-included" philosophy, providing an ORM, authentication, admin interface, templating engine, and more out of the box. It is widely used for building robust, scalable, and secure web applications.
Django is particularly well-suited for building full-stack web applications, content management systems, and any project that benefits from a mature, feature-rich framework.
While microframeworks like Flask and FastAPI are great for APIs and microservices, Django excels at projects that require a lot of built-in functionality, rapid development, and a strong focus on security and scalability.
Why was Django invented?
Django was created in 2003 by Adrian Holovaty and Simon Willison while working at a newspaper. They needed a framework that would allow them to build web applications quickly and efficiently, with a focus on reusability, rapid development, and the DRY (Don't Repeat Yourself) principle.
The goal was to create a framework that would handle much of the hassle of web development, so developers could focus on writing their apps without needing to reinvent the wheel.
Django's design emphasizes reusability, less code, and the ability to scale up to handle high-traffic sites.
Is Django opensource?
Yes, Django is an open-source web framework released under the BSD License. This means it is free to use, modify, and distribute, with a large and active community supporting its development.
Where does Django fit in the Python web development lifestyle?
Django fits into the Python web development lifestyle as a full-stack framework for building complex, data-driven web applications. It is ideal for projects that require an ORM, authentication, admin interface, and other built-in features.
Disadvantages of Django
- Can be overkill for small or simple projects
- Monolithic structure may limit flexibility for microservices
- Steeper learning curve for beginners due to its many features
- Less suited for real-time applications (e.g., WebSockets) out of the box
- Template language is less flexible than Jinja2 or others
- Upgrading between major versions may require code changes
Official Django link
You can find the official Django documentation and resources at Django Documentation.
Django vs Flask vs FastAPI
- Django: A full-featured web framework for building large, complex web applications. Includes an ORM, authentication, admin interface, and follows the "batteries-included" philosophy. Best for projects that require a lot of built-in functionality and rapid development.
- Flask: A lightweight, flexible microframework ideal for small to medium web applications and APIs. Flask is easy to learn, has a large ecosystem of extensions, but lacks built-in data validation and async support.
- FastAPI: Designed for building APIs quickly with automatic validation, serialization, and interactive documentation. Leverages Python type hints, supports asynchronous programming, and offers excellent performance. Best suited for modern RESTful APIs and microservices.
In summary, choose Django for full-stack web applications, Flask for lightweight and flexible projects, and FastAPI for high-performance APIs.
Key Features of Django
- Rapid development with built-in admin and authentication
- Object-Relational Mapper (ORM) for database operations
- Automatic admin interface for managing data
- Robust security features (CSRF, XSS, SQL injection protection)
- Scalable and suitable for high-traffic sites
- Template engine for dynamic HTML generation
- Strong community and extensive documentation
- Reusable apps and pluggable architecture
- Internationalization and localization support
- Comprehensive testing framework
Django Installation
pip install django
This command installs Django and its dependencies. You can then create a new project using django-admin startproject myproject.
Where does Django fit in an overall web-app architecture?
Django fits into the web application architecture as a backend framework for building full-stack web applications. It can handle everything from routing and business logic to database management and serving dynamic content. Django can also serve as an API backend (using Django REST Framework) for frontend frameworks like React or Vue.js.
Can we use Django in combination with Flask or FastAPI?
While Django is typically used as a standalone framework, it is possible to use Django alongside Flask or FastAPI in a microservices architecture. For example, Django can handle the main web application, while FastAPI or Flask can be used for specific high-performance APIs or microservices.
What are Microservices?
Microservices are an architectural style that structures an application as a collection of small, loosely coupled services. Each service is designed to perform a specific business function and can be developed, deployed, and scaled independently. This approach allows for greater flexibility, scalability, and maintainability compared to monolithic architectures.
While Django is traditionally used for monolithic applications, it can be used in a microservices architecture, especially when combined with Django REST Framework for building APIs.
Microservices can be written in different programming languages and can communicate with each other using APIs, message queues, or other communication protocols. This allows teams to choose the best tools for each service while maintaining a cohesive application architecture.
Django's features, such as its ORM, admin, and authentication, make it a strong choice for building robust services within a microservices ecosystem.
What is Rest API?
REST (Representational State Transfer) is an architectural style for designing networked applications. It relies on a stateless, client-server communication model and uses standard HTTP methods (GET, POST, PUT, DELETE) to perform operations on resources. RESTful APIs are designed to be simple, scalable, and stateless, making them easy to use and maintain.
Text Flowchart of a web app architecture that includes Django in it
User (Browser or Mobile App)
        |
        v
Frontend (e.g., React, Vue, Angular, Flutter)
        |
        |  ⬅️ Sends HTTP/HTTPS requests (REST, GraphQL, WebSockets)
        v
API Layer (Django / Flask / FastAPI)
        |
        |  ⬅️ Routes requests, handles auth, validates inputs
        v
Business Logic / Service Layer
        |
        |  ⬅️ Contains core logic, processes requests, controls access
        v
Database Layer (PostgreSQL, MySQL, SQLite, etc.)
        |
        |  ⬅️ ORM used here (Django ORM, SQLAlchemy, Tortoise, etc.)
        v
External Services (payment gateways, ML APIs, etc.)

Optional Enhancements
---------------------
Caching Layer (Redis, Memcached) ⬅️ Improves read performance
        |
        v
Message Broker (Kafka, RabbitMQ)
        |
        v
Background Workers (Celery, RQ, Dramatiq)
        |
        v
Async Tasks (e.g., email, data processing, ML tasks)

Monitoring / Logging (Prometheus, Grafana, ELK, Sentry)
        ⬅️ Observability, performance, and error tracking

Deployment (Docker, Kubernetes, Cloud: AWS, Azure, GCP)
        ⬅️ Infrastructure setup, container orchestration

Load Balancer (Nginx, HAProxy)
        ⬅️ Distributes traffic, SSL termination, caching

CDN (Cloudflare, AWS CloudFront)
        ⬅️ Serves static assets closer to the user
Getting Started with a Django Project: Initial Steps
-
Install Django
pip install django -
Create a new Django project
django-admin startproject myproject
Note: If you encounter an error like below:
django-admin : The term 'django-admin' is not recognized as the name of a cmdlet, function, script file, or operable program. Check the
spelling of the name, or if a path was included, verify that the path is correct and try again.
This means Django is not installed or not added to your system's PATH. Make sure to install Django using pip and verify the installation.
-
Check if Django is installed
pip show djangoIf Django is installed, you will see details about the package. If not, install it using:
pip install django -
Check if
django-adminis availabledjango-admin --versionIf this still doesn't work, you can try using the full path to the django-admin script:
python -m django startproject myprojectThis will have the same effect as
django-admin startproject.
To run the django development server :
python manage.py runserverStep-by-Step Guide: Building a Sample Django Application
Django Project vs Django App: What's the Difference?
Django Project: A Django project is the entire web application, including configuration and settings for the whole site. When you run django-admin startproject myproject, you create a project. It acts as the main container and can include multiple apps.
Django App: A Django app is a modular component within a project that performs a specific function (such as a blog, user authentication, or a shop). Apps are reusable and can be plugged into different projects. You create an app using python manage.py startapp myapp.
- Project: The overall web application (can contain multiple apps).
- App: A single, focused module providing a specific feature (can be reused in other projects).
In summary, a Django project is your entire website, while apps are individual building blocks that make up the project.
Step 1: Create a Django project
# Using django-admin (recommended)
django-admin startproject myproject

# Or, if django-admin is not recognized, use:
python -m django startproject myproject
This will create a new directory called myproject with the basic Django project structure:
myproject/
    manage.py                  # Command-line utility for administrative tasks
    myproject/
        __init__.py           # Marks this directory as a Python package
        settings.py           # Main settings/configuration for your Django project
        urls.py               # URL declarations for this Django project; "table of contents" for your site
        asgi.py               # Entry-point for ASGI-compatible web servers (for async support)
        wsgi.py               # Entry-point for WSGI-compatible web servers (for traditional synchronous deployments)
python manage.py runserverThis command starts the Django development server. If everything is set up correctly, you should see output similar to:
July 06, 2025 - 07:05:35
Django version 5.2.4, using settings 'myproject.settings'
Starting development server at http://127.0.0.1:8000/
Quit the server with CTRL-BREAK.
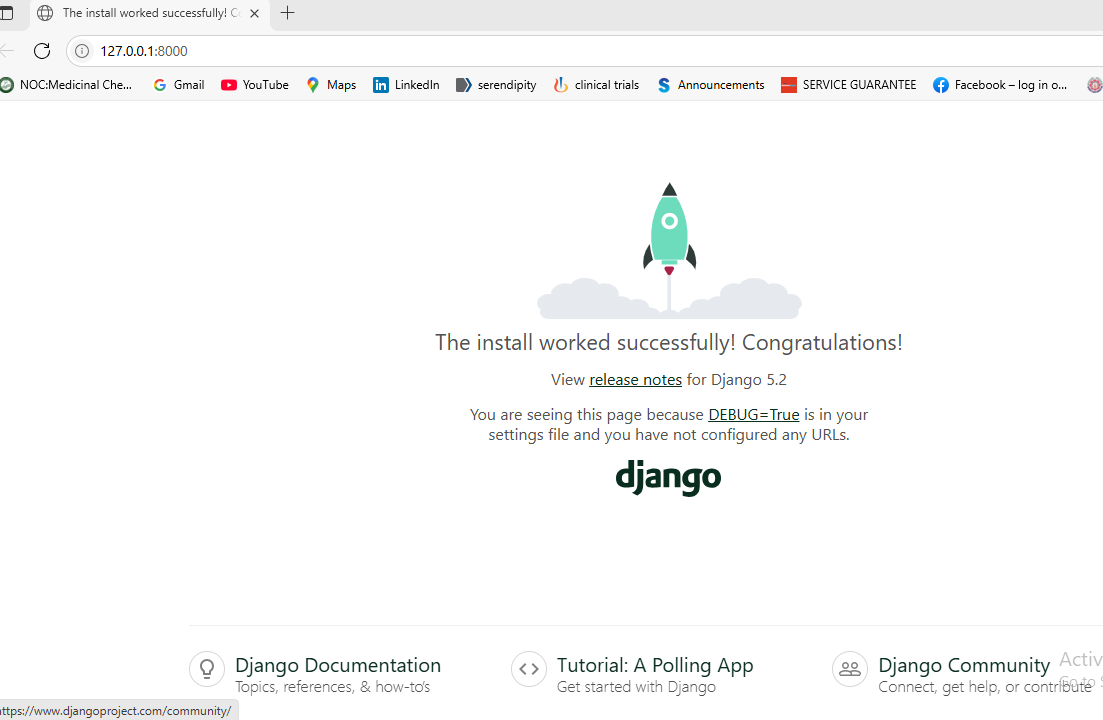
Open your browser and navigate to http://127.0.0.1:8000/. You should see the default Django welcome page, indicating your project is running successfully.
Django Successful Landing Page Example:
Step 2: Create a Django app
cd myprojectpython manage.py startapp myappStep 3: Define a model
from django.db import models

class Item(models.Model):
    name = models.CharField(max_length=100)
    price = models.DecimalField(max_digits=8, decimal_places=2)
    is_offer = models.BooleanField(default=False)
Step 4: Register the model in admin
from django.contrib import admin
from .models import Item

admin.site.register(Item)
Step 5: Write a simple view
from django.http import HttpResponse

def hello(request):
    return HttpResponse("Hello, Django")
Step 6: Set up URL routing
from django.urls import path
from . import views

urlpatterns = [
    path('', views.hello, name='hello'),
]
Step 7: Query data using Django ORM
items = Item.objects.filter(is_offer=True)Step 8: Create a form
from django import forms

class ItemForm(forms.ModelForm):
    class Meta:
        model = Item
        fields = ['name', 'price', 'is_offer']
Step 9: Use Django's authentication system
from django.contrib.auth.models import User

user = User.objects.create_user('username', password='password')